
Acurite Weather Station Installation Guide
# Acurite Weather Station Installation Guide
Installing an Acurite weather station can be a rewarding experience, providing you with accurate weather data right at your fingertips. Whether you’re a weather enthusiast or simply want to keep track of local conditions, this guide will walk you through the installation process step by step.
## Choosing the Right Location
Before you start the installation, it’s crucial to choose the right location for your Acurite weather station. The ideal spot should be:
– Open and unobstructed by trees, buildings, or other structures.
– At least 5 feet above the ground to avoid ground interference.
– Away from heat sources, such as air conditioning units or vents.
Proper placement ensures accurate readings for temperature, humidity, wind speed, and rainfall.
## Unboxing and Preparing the Components
Once you’ve selected the perfect location, unbox your Acurite weather station and ensure all components are present. A typical Acurite weather station includes:
– The display console
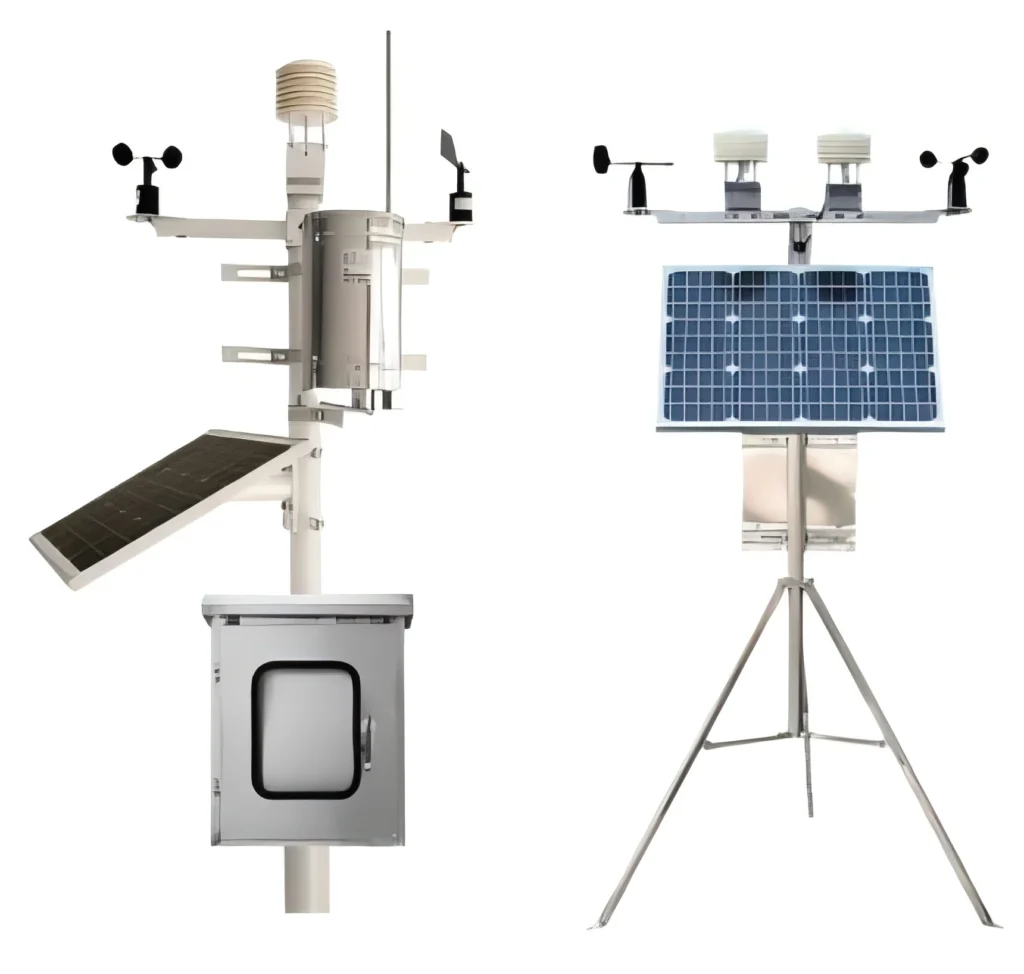
– The outdoor sensor array (anemometer, rain gauge, and thermometer)
– Mounting hardware (brackets, screws, and anchors)
– User manual and setup guide
Familiarize yourself with each component before proceeding.
## Installing the Outdoor Sensor Array
The outdoor sensor array is the heart of your weather station. Follow these steps to install it:
1. Assemble the sensor array according to the instructions provided.
2. Use the mounting bracket to secure the sensor array to a pole or post. Ensure it’s level and stable.
3. Position the sensor array in the chosen location, making sure it’s free from obstructions.
4. Secure the mounting bracket with screws or anchors, depending on the surface.
Once installed, the sensor array should be able to transmit data to the display console.
## Setting Up the Display Console
The display console is where you’ll view all your weather data. To set it up:
1. Place the console indoors, near a window or wall closest to the outdoor sensor array.
2. Insert the required batteries or plug it into a power source.
3. Turn on the console and follow the on-screen prompts to pair it with the outdoor sensor array.
Ensure the console is within the recommended range of the sensor array for optimal performance.
## Calibrating and Testing
After installation, it’s essential to calibrate and test your Acurite weather station:
1. Compare the temperature and humidity readings with a trusted source, such as a local weather station.
2. Adjust the settings on the display console if necessary to ensure accuracy.
3. Test the rain gauge by pouring a measured amount of water into it and verifying the reading.
4. Check the anemometer by observing wind speed during a breezy day.
Calibration ensures your weather station provides reliable data over time.
## Maintaining Your Weather Station
Regular maintenance is key to keeping your Acurite weather station in top condition:
– Clean the sensor array periodically to remove dirt, debris, or bird droppings.
– Check the batteries in both the sensor array and display console every few months.
– Inspect the mounting hardware for signs of wear or damage.
By following these steps, you’ll enjoy accurate weather data for years to come.
## Conclusion
Installing an Acurite weather station is a straightforward process that can greatly enhance your understanding of local weather conditions. By choosing the right location, properly installing the components, and performing regular maintenance, you’ll have a reliable tool for monitoring the weather. Happy weather watching!
Keyword: acurite weather station installation